Product staging is the strategic art of arranging your product, background, props, and lighting so customers understand what you sell in seconds—and feel confident buying it. Great product staging boosts click-through rates, improves conversion, and reduces returns by setting clear, accurate expectations.

What Is Product Staging?
Product staging is the intentional design of a product image: angle, crop, background, props, surface texture, shadows, and context. Effective product staging does two jobs at once:
- Clarity: your product is instantly recognizable (even on mobile).
- Desire: your product looks premium, believable, and on-brand.
If your listing gets views but not sales, the fastest win is often better product staging.
Product staging vs. "just adding props"
Props are optional. Product staging is not. A clean hero shot on a simple background can outperform a cluttered lifestyle scene every day—because clarity converts.
Product Staging Principles (The Checklist Pros Use)
Use this checklist to standardize product staging across your catalog and keep your brand visuals consistent.
1) Start with visual hierarchy
The product is the hero. Everything else exists to support it. If a prop competes for attention, remove it.
2) Choose a background strategy: clean vs. lifestyle
- Clean studio: best for marketplaces, thumbnails, and consistency.
- Lifestyle context: best for storytelling, benefits, and social proof.
For compliant baselines, begin with a white background photo, then build lifestyle variations around it.
3) Use surfaces and textures to signal quality
In product staging, surfaces do a lot of "luxury signaling." Matte stone feels premium; wrinkled fabric can feel cheap. Choose materials that match your price point.
4) Keep your palette tight
Limit each scene to 2–4 colors so your product staging looks intentional. This also helps your PDP galleries and social grids feel cohesive.
5) Make lighting and shadows believable
Believable shadows are a core product staging cue. If your product looks like it's floating, trust drops. If you need a clean cutout first, start with background removal.
How to Plan Product Staging (So Your Shoot Doesn't Spiral)
Great product staging is decided before you shoot—or generate. A lightweight plan keeps output consistent, faster, and easier to scale across SKUs.
Create a one-page product staging brief
- Audience: who is this product for?
- Primary promise: what must the image communicate?
- Channel: Amazon, Shopify, ads, email, social?
- Scene type: clean studio, lifestyle, editorial, UGC?
- Do-not-use list: props/colors that clash with brand.
Build a reusable staging kit
To streamline product staging, keep a repeatable kit (2 surfaces + 2–3 prop families + one lighting style). Consistency builds trust and speeds production month after month.
Use Case Explanations: Where Product Staging Drives the Biggest ROI
Ecommerce PDPs (Shopify / DTC)
On PDPs, product staging should prioritize clarity, true color, and a consistent gallery. Pair a clean hero image with 2–3 lifestyle images that show scale and use. For more context-driven visuals, explore product lifestyle photography.
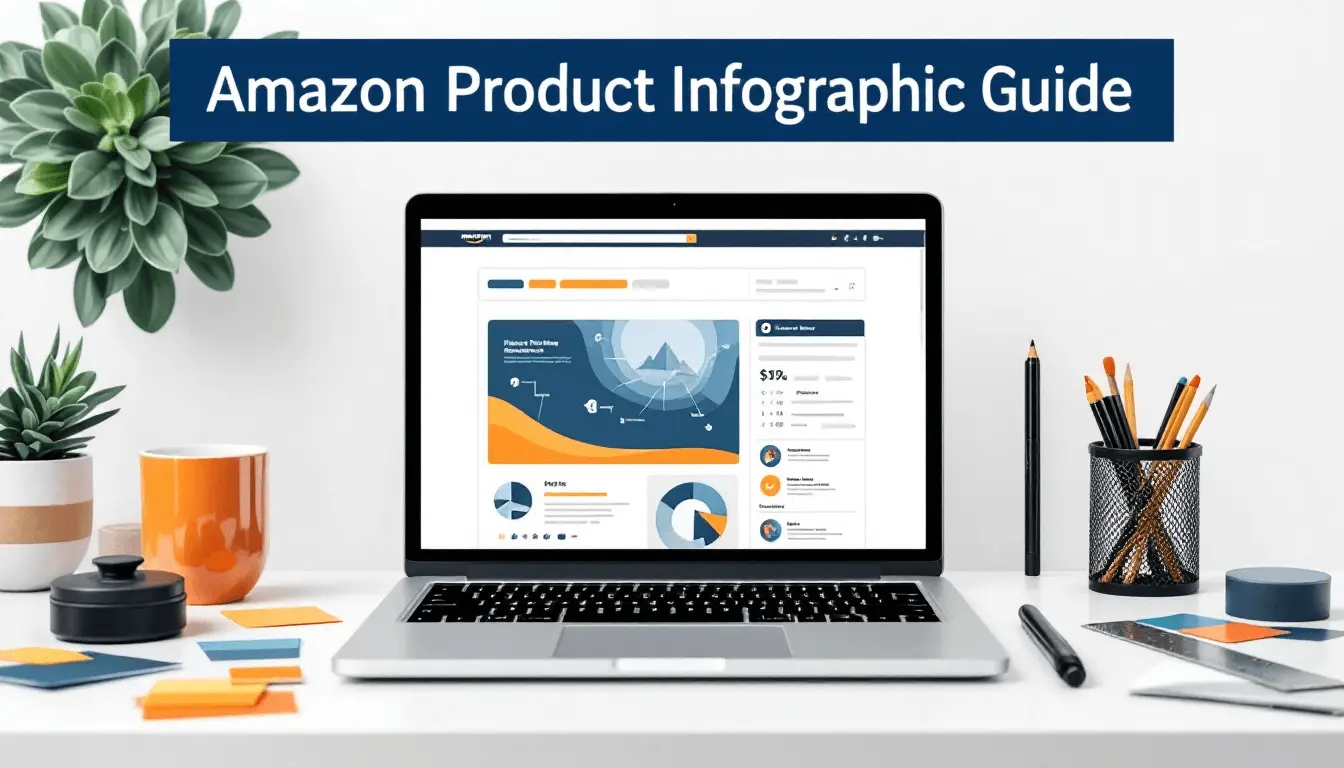
Amazon and marketplaces
Marketplace product staging is rules-first: compliant main images, then benefits images and infographics. For listing strategy, see Amazon listing optimization.
Paid ads (Meta, TikTok, Google)
For ads, product staging must communicate the offer in 1–2 seconds. Test variations: clean studio, lifestyle in-use, close-up detail. Need many variations fast? Use AI product photography to generate multiple staged scenes without a reshoot.
Email + SMS
Email product staging should be high-contrast and mobile-first. Leave negative space for copy overlays and keep the product readable at small sizes.
Social (organic + UGC)
Organic social rewards variety. Keep product staging consistent in lighting and palette, while rotating props, seasons, and angles to stay fresh.
Step-by-Step Tutorial: A Repeatable Product Staging Workflow
Use this workflow to build scalable, consistent product staging for every SKU and channel.
- Define the single job of the image: Is this image for compliance, education, or desire? One goal per image keeps product staging decisions simple.
- Choose your baseline background: Start with a clean, universal base (often a white background photo), then create lifestyle or editorial variants.
- Prepare a clean cutout for flexible staging: Remove the background first using background removal. This makes product staging faster across ads, marketplaces, and banners.
- Lock your surface + palette: Pick 1 surface and 2–4 colors. Repeat them across the series so your product staging looks like a brand system, not random posts.
- Add only supporting props: Every prop must help customers understand the product or feel the benefit. If it doesn't improve clarity or desire, remove it.
- Create 3 fast variants (mini test set): Create: (a) clean hero, (b) lifestyle in-use, (c) detail close-up. This gives you immediate A/B options and better galleries.
- Export sizes for every channel: Minimum: 1:1, 4:5, 16:9, 9:16. Consistent exports preserve your product staging across placements.
- Audit consistency before publishing: Check: horizon lines, warmth, shadow direction, crop tightness, and prop intensity across the set.
Video: A quick walkthrough of a repeatable product staging workflow.