
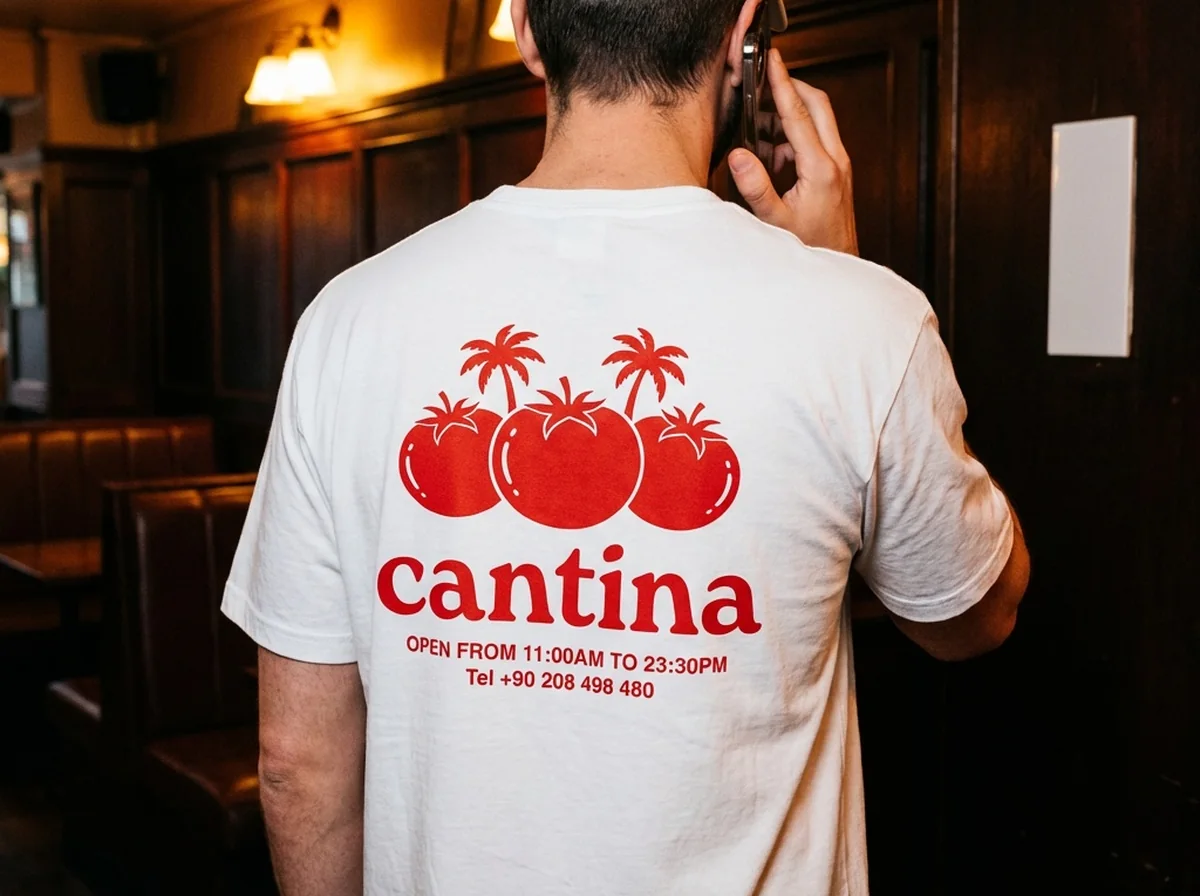
Most clothing product photography decisions come down to one question: does this garment go on a table, on a mannequin, or on a person? Answer it wrong and the cost lands somewhere else — the retouching bill, or the returns queue. Flat lay is cheap. It also lies about fit. The mannequin is the workhorse, and it is the method people execute worst. Model shots sell the idea and then wreck your schedule. What follows is what each one costs, the kit it needs, the time per SKU, and the part most guides skip — when each one is wrong.
If you would rather skip the shoot altogether, AI clothing photography turns one flat or hanger photo into on-model and lifestyle shots.
Flat lay vs mannequin vs model: the clothing product photography decision
Three things decide it. Whether the garment holds a shape on its own, whether fit is the objection your customers actually have, and how many SKUs you have to clear before the season starts. Structured pieces collapse on a table — a blazer shot flat is a shape nobody has ever worn. Soft goods do not.
| Method | Kit you actually need | What it costs | Time per SKU |
|---|---|---|---|
| Flat lay | Overhead arm or a stepladder, one large diffused source, white fill board, steamer | Low, and it is a one-off | Fastest of the three once the rig is taped down |
| Mannequin / ghost mannequin | Photography form in your core size, two lights, clamps and pins, retouching time | Mid — the form is the main line item | Quick to shoot, slow to edit |
| Model | Everything above, plus a model, someone who can style and pin, and booked studio hours | Highest, and it recurs on every shoot | Fast in the room, slow to arrange |
Flat lay: pick this if volume is the constraint
Pick this if you are photographing more than about fifty pieces a season, your margins are thin, and the garments are soft — tees, knitwear, kids' clothing, anything that reads honestly lying down.
The kit is small. An overhead arm or a stepladder, one big source pushed through diffusion, a white board opposite it to lift the shadow side, and a steamer. That is the whole rig.
Time per SKU is where flat lay wins, and it is not close. Tape the camera position, set the light once, and after that you are swapping garments rather than rebuilding a set. Two people on a rail will clear a batch in a fraction of the time mannequin or model work takes, because nothing has to be dressed, pinned or composited afterwards.
When it is the wrong choice: the moment fit is what customers hesitate over. Tailoring, denim above a certain price, outerwear, anything with a waist. A shopper who cannot see how a garment sits will guess, and guessing fills the returns queue.
Arrangement and prop discipline are a separate craft; eight setups are written up in our guide to flat lay clothes photoshoot ideas. This page is only about whether to shoot flat at all.
Mannequin: pick this if fit is the objection
This is the default for most e-commerce catalogues, and it is the method people execute worst — usually because they buy a form, dress it badly, and conclude that mannequins look cheap.
Buy the form in your core size, not a display size. Retail mannequins are stylised: longer in the leg, narrower at the waist, a chest no block pattern was ever drafted against. Photography forms sit closer to real proportions and the difference shows immediately on anything fitted. A torso form covers tops, knitwear and outerwear. Full dress forms only earn their cost once dresses and jumpsuits are a regular part of the catalogue.
The dressing is the actual skill and almost nobody writes it down. Garments arrive in a size run; your form comes in one size. Everything either gets pinned back or padded out. Pin at the centre back, out of shot, and pull the excess into one vertical fold rather than several small ones — a single clean line disappears in the final image, while four small pinches read as a badly fitting garment. Pad with tissue or foam wherever the garment is loose: shoulders, bust, the small of the back. Sleeves need stuffing or they hang like empty tubes. Collars have to be shaped by hand every time, because the form has no neck worth speaking of, and a collapsed collar is the most common giveaway in amateur catalogue work.
Two lights is enough. One large source at roughly forty-five degrees to the front, one opposite as fill, and a clean sweep behind. What matters far more is that you never move either of them again. Mark the floor with tape. Write down the height, the distance, the power setting and the camera height, photograph that note, and keep it in the shoot folder. Six weeks later, when a supplier sends a restock in a new colourway, the new frames need to sit in the grid alongside the old ones without a shopper ever noticing they were shot on a different afternoon. Consistency is worth more than any individual image, and it is what separates a catalogue that looks designed from one that looks assembled.
Shooting itself is fast. A dressed garment takes a couple of minutes to capture front, back and detail. The cost sits after the shutter, which is where mannequin budgets go wrong — the shoot day is not the job. Every frame needs the form removed or the neck filled, the sweep cleaned, the colour pulled back to match the physical garment, and then the whole batch checked against the last one. Budget the edit before you budget the shoot. If you are outsourcing retouching, price it per image at your real angle count rather than per product; those two numbers are rarely close.
One thing that only shows up at volume: keep the physical garment beside the monitor while you review. When a batch comes back from retouching three shades warm, that argument is unwinnable over email, and it will happen.
Ghost mannequin is two captures, not one
The invisible-mannequin look is a composite, not a photograph. You shoot the garment on the form, then shoot the inside of the neck and any visible inner seams separately, and merge the two. That is two setups per garment plus a compositing step per image — the number that belongs in your schedule, rather than the single-frame estimate everyone starts with. Our ghost mannequin guide walks through the capture order.
When a mannequin is the wrong call
Bias-cut and heavily draped fabric hangs badly on a rigid form; it needs the small asymmetries of a real body to look like anything. Swimwear, lingerie and close-fitting activewear are worse, because there the proportions of the form are effectively a claim about the product. Oversized cuts just read as too big. And if movement is what you are selling — a coat that swings, a pleated skirt — a static form removes the only part worth photographing.
Model: pick this if the garment needs a body to make sense
Pick this when the customer's real question is how something will look on them and no amount of retouching will answer it. Occasionwear. Swim. Anything where drape and movement carry the price.
A model shoot is fast in the room and slow everywhere else. The bottleneck is never the camera — it is changing, steaming the next piece, and the twenty minutes lost each time something has to be pinned at the back. What eats the calendar is the arranging: casting, availability, a stylist, studio hours sold in blocks you cannot half-use.
The costs that are not the day rate
Reshoots are the expensive part. When a style returns in a new colour you either book the same model again, or accept a grid where half the products are worn by a different person — and a mismatched grid looks worse than no model shots at all. Small catalogues with frequent restocks are the worst fit for model photography. The way around it is generating the variants rather than reshooting them, which is what ProductAI does from a single clean capture; AI product photography will not invent a fit nobody photographed, but it will save you the booking.
Mixing all three in one catalogue
Most catalogues should. The pattern that holds up: ghost mannequin for the main product-page image because it is the honest one, one model frame per style for the top of the page, flat lay for colourways and detail. Decide by position on the page, not by garment. A grid where half the thumbnails are worn and half are not is more visible to a shopper than any difference in image quality.
Fabric decides more than the method does
Satin and silk blow out under the same light that flatters cotton; they want the source larger and further away. Wool and heavy knit need light raking across the surface, or the texture vanishes and the garment reads as a flat colour swatch. Black on black is a lighting problem, not an editing one — you separate it with a rim light, not by lifting shadows afterwards. Most people fix the wrong variable here. They buy a better camera when the issue is one unflagged light and a background sitting at the same tone as the product.
The clothing product photography step everyone skips
Steam everything. Twenty minutes with a steamer does more for a catalogue than any lens upgrade, and wrinkle removal in post is billed per image. Lint roller after steaming, never before. Cut or tuck the size tag out of frame. Check the collar sits before every single frame — it moves when you are not looking.
Templates for this look
Open each one in the studio with your own product — the prompt and lighting are already set up.
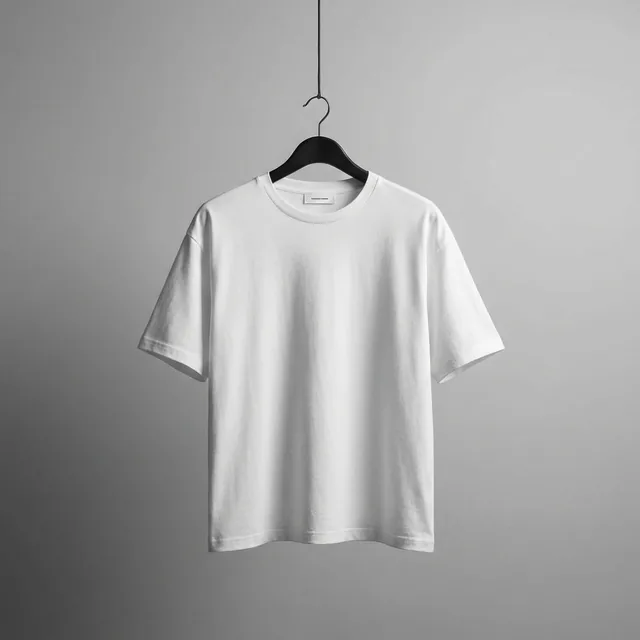 Hanger on seamlessOpen in studio →
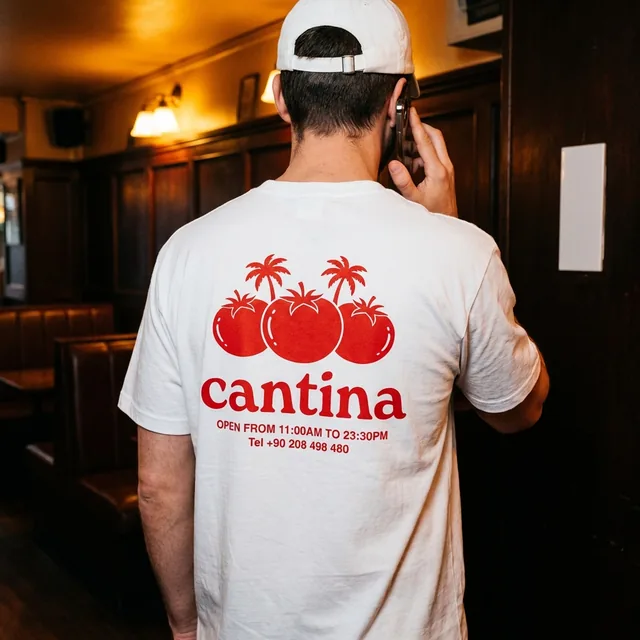 On-model, interiorOpen in studio →
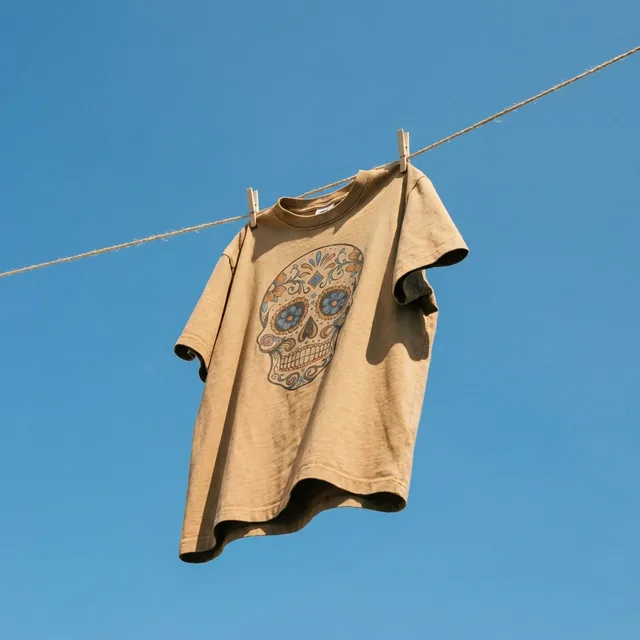 Clothesline, hard daylightOpen in studio →
If you have one hour and a rail of samples
Shoot one garment all three ways before committing to a method for the season. What the test tells you is usually not which image looks best, but which one you can repeat two hundred times without the quality drifting, and only the second question matters at catalogue scale. If returns are the number you care about, judge the frames by whether a customer would recognise the parcel when it arrives.